

Quick answer: what makes a wearable apprentice hat?
How to make a Witch Hat Atelier hat: measure the head you will wear it over, draft a paper shape, test the fit, add a support layer, cover it with fabric, then finish the opening and decorative details. The important choice is structure. A pointed costume cap needs enough support to hold its silhouette, but it should remain light and balanced instead of pulling backward.
This is an independent cosplay workflow, not an official pattern; adapt it to your wearer and materials.
Choose one hat reference before cutting
Collect two or three clear reference views of the specific hat you want to make: a front view for the color blocks, a side view for the crown and brim profile, and a back or detail view if a tassel or seam matters. The official Coco artwork above can help identify the broad costume silhouette. Do not mix details from several characters unless you are intentionally designing a personal variation.
The site's Brimmed Caps guide covers fictional hat lore, not sewing. Choose visible details from one reference before shopping: crown height, lower panel, edge finish, tassel, and wig fit. Mark personal variations rather than presenting them as canon.
Watch a maker's apprentice-cap cosplay video for one drafting and sewing process. Baby Lock's tutorial shows another buckram and fabric build. These are independent examples, not canonical patterns or required product choices.
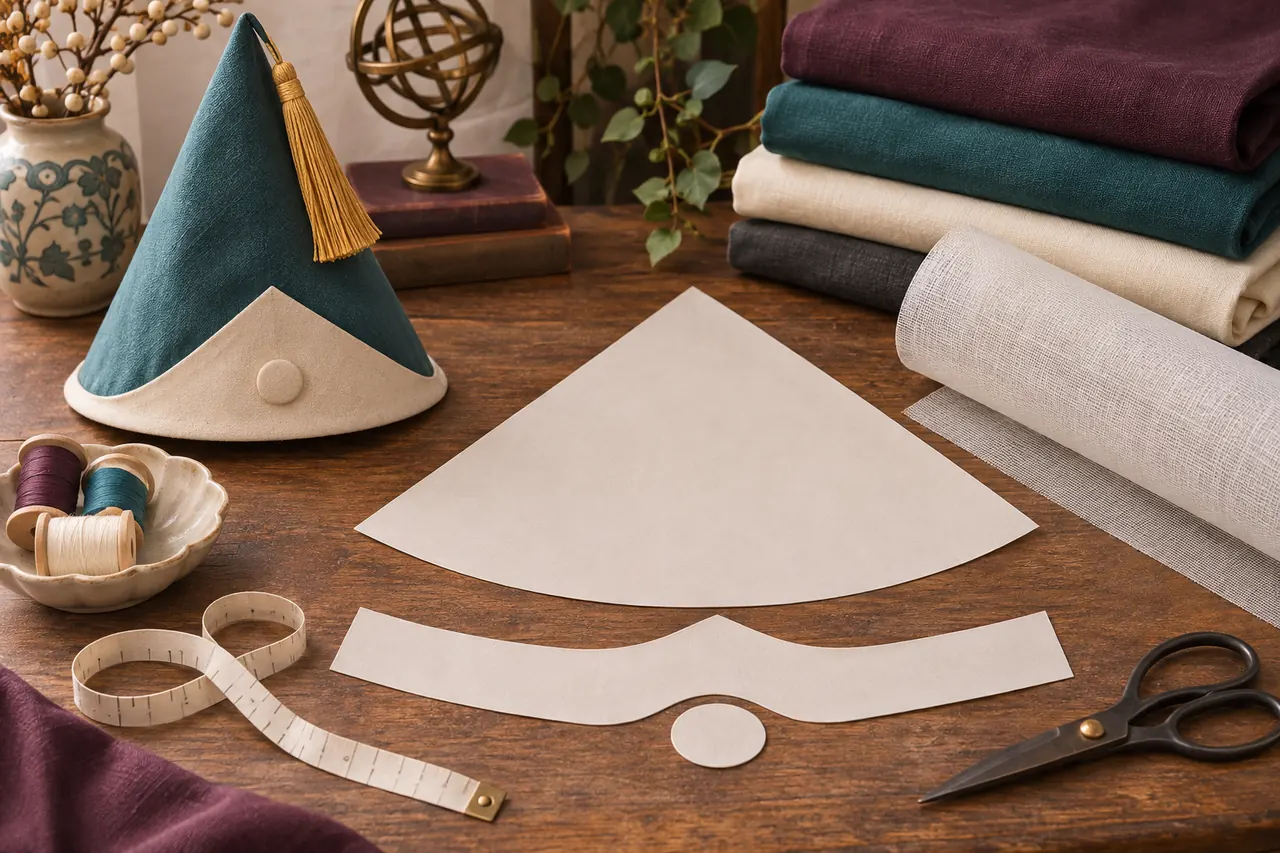
Choose materials for your tools and comfort
You do not need professional millinery equipment. Start with fabric that can be pressed and sewn on your machine, a stable inner material, matching thread, pins or clips, paper for a mock-up, a flexible tape measure, and a hand-sewing needle for the final opening. Prewash fashion fabric when its care label allows it, because shrinkage after assembly can distort the crown.
| Support | Useful when | Trade-off |
|---|---|---|
| Light buckram or hat interfacing | You want a traditional, sewable structure and can test your machine first. | Stiffness varies; thick layers may need a longer stitch or hand sewing. |
| Thin EVA foam | You want a lightweight shape and are comfortable joining foam without bulky seams. | Heat shaping and adhesives need ventilation and material-specific care. |
| Firm woven interfacing | You want a soft cap that packs more easily and already know how it behaves. | It may not keep a tall point crisp without additional support. |
Make a small test seam with the complete layer stack before committing. If the needle struggles, stitches skip, or the fabric puckers, change the support or assembly order. Use products as their labels instruct, keep hot tools and blades away from children, and do not place wire, glue, or hard edges where they can press against your head.
Measure your head and draft a paper pattern
Wear the wig, cap, or hairstyle planned for the costume. Measure around the head at the height where the hat will sit; keep the tape level and comfortably snug. Record the measurement and add only the wearing ease needed for your lining and hair. Seam allowance is separate: add it around edges that will be sewn instead of hiding it inside the head measurement. Mark which side is the front so later fitting notes stay clear.
Use paper or scrap cloth to test a curved panel that closes into a point. Its curve depends on crown height, opening, fabric, and the bend you want. Tape a first draft together, try it over the wig or a head form, and adjust the lower edge. Keep a little extra length at the tip so you can trim after the silhouette works.
If the hat has a contrasting lower panel, trace its boundary onto the mock-up and make a separate template. Add notches at the center front and back so both sides meet evenly. Label each paper piece with its cut count, fabric direction, and layer. These simple marks are more useful than relying on memory after the pieces are separated.
Fit the mock-up before using good fabric
Join the test crown with tape, clips, or a loose basting stitch and try it over the planned wig. Check that the opening does not press on the temples, the brim does not hide your eyes, and the top does not tip backward. Turn your head, look down, and walk a few steps. If the crown shifts, adjust the opening or add discreet elastic or combs later; do not make the whole hat tighter by guesswork.
Check the mock-up in front and profile photos, mark changes on paper, and choose a wearable point height before cutting final fabric.
Build the support layer first
Transfer the corrected pattern to the support material and cut the required pieces, leaving the planned seam allowance. If you are using buckram, follow the product directions and test a straight stitch on a scrap. Close the crown seam with a stable stitch, then try the bare support on the wearer or a form. Smooth the seam allowance near the point so it does not create a hard lump, but avoid trimming so close that the seam can unravel.
For EVA foam, use a compatible adhesive in a ventilated workspace. Heat only when its manufacturer permits it, and let it cool before adding fabric. The support should hold its shape without pressing against the head.
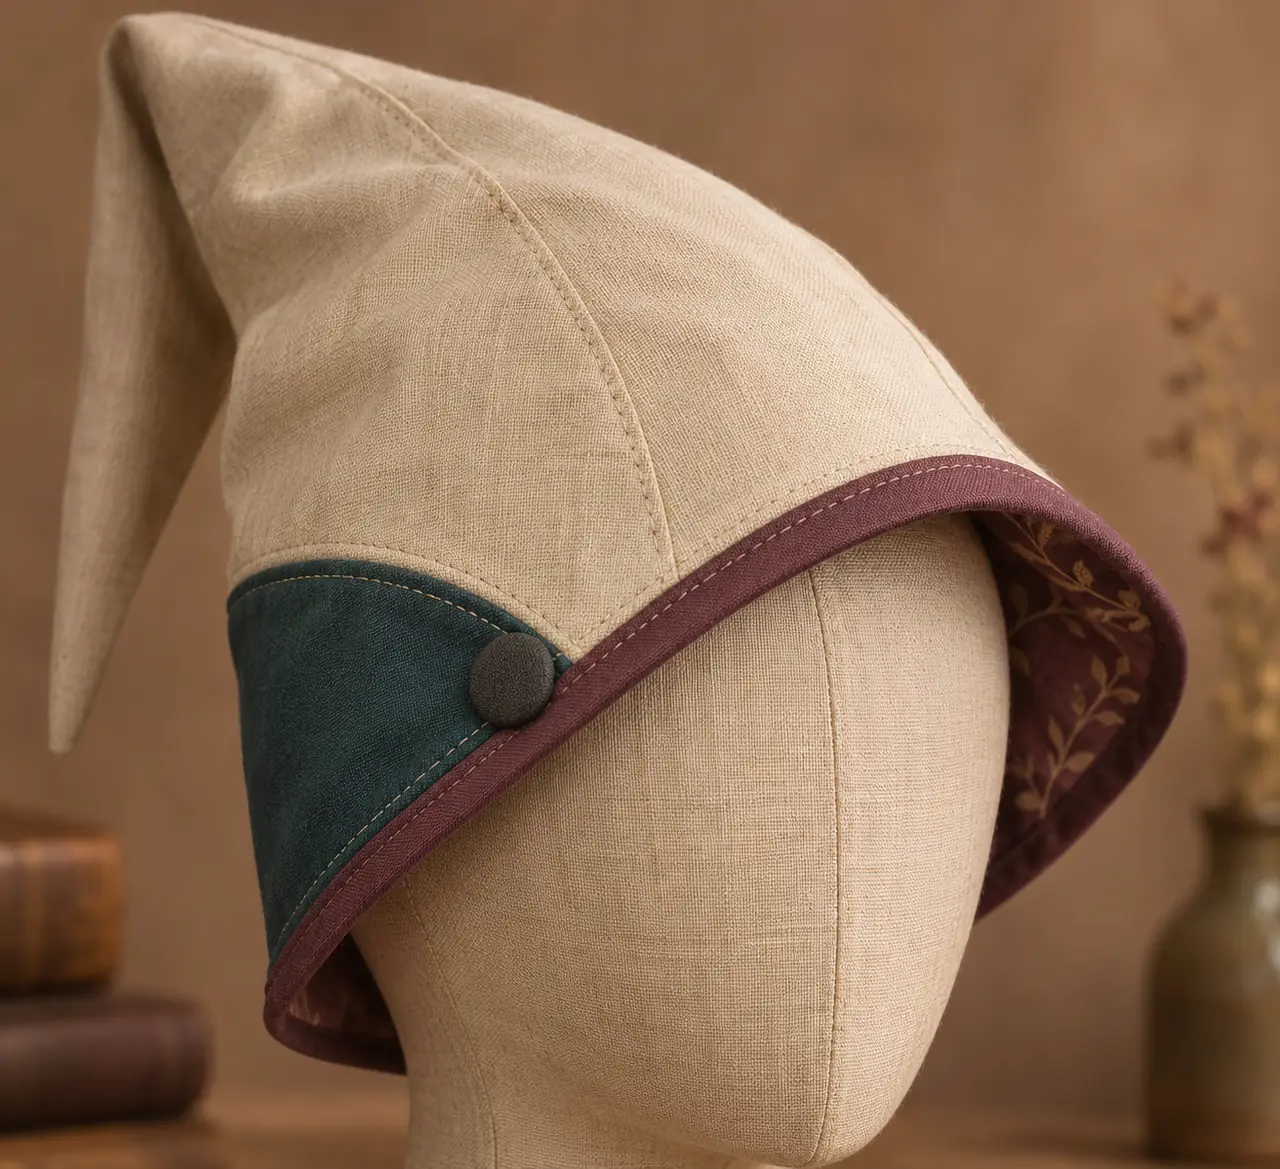
Sew the fabric shell and lining
Cut the fashion fabric from the revised pattern, keeping the grain direction consistent across pieces. If the fabric frays, finish raw edges with an overlocker, zigzag stitch, or another method suited to its weight. Sew the crown seam with right sides together, press the seam open when the fabric allows, and clip only the seam allowance where needed to reduce bulk. Stop before the stitch line.
Make the lining from a smooth, breathable fabric. Assemble it in the same crown shape, leaving a small opening if your construction needs a turning gap. Place shell and lining right sides together at the lower edge, sew the opening, then turn the hat carefully and press the edge. Hand stitch the remaining gap with small, even stitches. If the fabric is slippery, pin more often and check that the inner and outer seam lines stay aligned before sewing.
Before closing the lining, try the covered shell on the support. Check that it still fits over the wig and that the seam stays centered; add discreet hand tacks only if the shell can twist.
Finish the lower panel and costume details
Attach the contrasting panel only after confirming its placement on the wearer. A narrow curve can be eased with small clips in the seam allowance; do not cut through the visible fabric. Understitch or topstitch where appropriate to keep the edge flat. A narrow bias binding or folded fabric strip can protect a raw brim and create a deliberate finish without adding a heavy wire edge.
Attach only details in your chosen reference and secure them firmly. Keep cords away from the neck and cover hard edges. Test steaming on scrap because some synthetics melt or shine.
A creator's process reference for pattern drafting and sewing. It is an independent cosplay tutorial, not an official costume specification.
Troubleshoot common fit and sewing problems
| Problem | Likely cause | Try this |
|---|---|---|
| The hat slides backward | The crown is top-heavy or the opening is too loose. | Reduce excess height, rebalance the support, or add discreet combs or elastic after a new fit test. |
| The point looks lumpy | Too much seam allowance or support is gathered at the tip. | Grade the allowance in small steps and press or shape the support gently before covering it. |
| The shell wrinkles around the crown | The outer fabric and support do not share the same curve. | Unpick only the affected section, compare it with the mock-up, and ease the fabric gradually instead of stretching it. |
| The brim feels sharp | A raw stiff edge or exposed wire is touching the wearer. | Cover the edge with soft binding and remove or fully enclose any wire that cannot be secured safely. |
| The opening is too tight over a wig | The first measurement was taken without the planned hair volume. | Recheck the wig circumference and adjust the lower pattern before adding elastic or a lining. |
Witch Hat Atelier hat cosplay FAQ
Is there an official Witch Hat Atelier sewing pattern?
This research did not verify an official sewing pattern. Treat creator and community templates as independent fan or maker resources, check their terms, and do not describe them as licensed unless the rights holder says so.
What is the easiest support for a beginner?
Start with firm woven interfacing or a lightweight support that your machine can sew. Buckram can work well, but its stiffness and thickness vary. Always make a test seam before cutting the final pieces.
How do I make a pointed hat stay upright?
Use a balanced support layer, keep the crown proportionate to the wearer's head, and fit it over the actual wig. A tall point can still lean if its base is loose or too much weight sits far behind the head.
Sources and craft references
- Apprentice-cap cosplay construction video — creator's process and measurements.
- Baby Lock: Witch Hat Atelier cosplay hat tutorial — a sewing-brand example of buckram and fabric construction; product endorsements are not required for this guide.
- Witch Hat Atelier Brimmed Caps guide — fictional hat lore, separate from sewing instructions.
- Coco character guide — additional character reference.